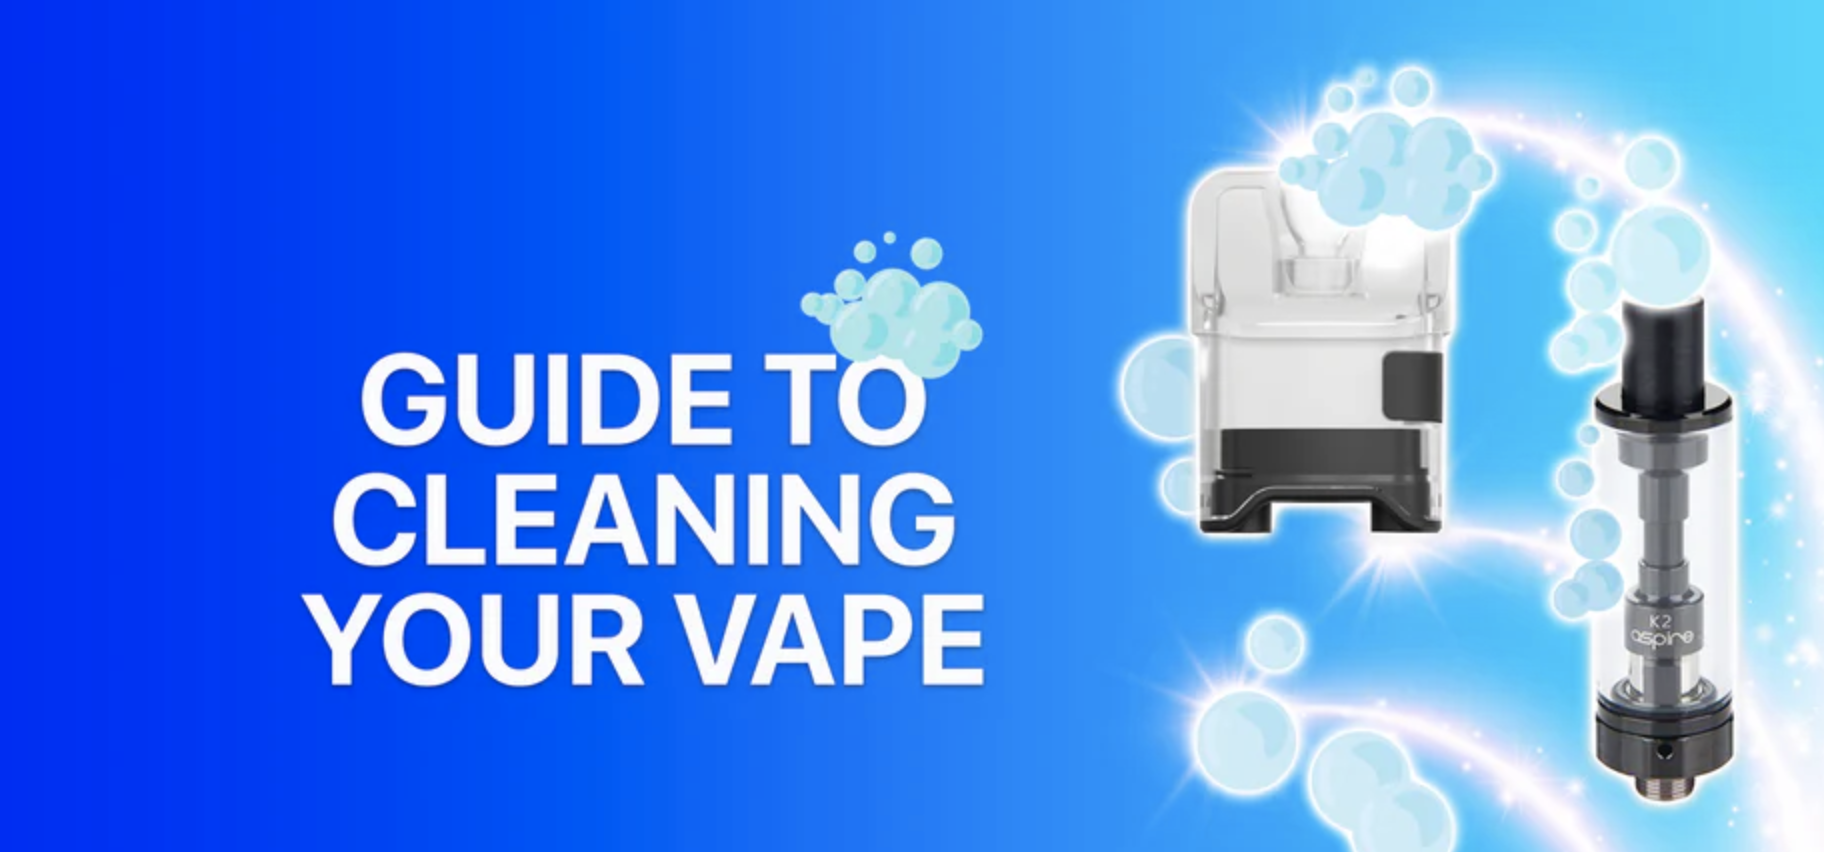
How to Maintain and Clean Your Vape Device: A Detailed Guide
Vape devices, like any other piece of technology, require proper maintenance and cleaning for optimal performance and longevity. Regular cleaning can prevent residue buildup, improve flavor, and extend your device's lifespan. In this detailed guide, we'll walk you through how to maintain and clean your vape device, from disassembly to cleaning and reassembly.
Understanding Your Vape Device
Before diving into the cleaning process, it's essential to understand the primary components of your vape device. Most vape devices comprise of:
- Battery: This powers the device and can often be recharged.
- Tank: This component holds the vape juice.
- Coil: Located within the tank, the coil heats the vape juice, turning it into vapor.
- Mouthpiece: This is the part from where you inhale the vapor.
Each of these parts requires specific attention during the cleaning process.
Regular Maintenance
To keep your vape device functioning smoothly, it's vital to perform regular maintenance.
1. Regularly Check the Battery Contacts
Dirty or greasy contacts can affect the performance of your device. Ensure that the contacts are clean and, if you notice any buildup, lightly clean the area with a dry cloth.
2. Replace Coils Regularly
Coils wear out over time and should be replaced every one to four weeks, depending on usage. You'll know it's time to replace the coil when you experience a burnt taste, a decrease in vapor production, or if the vape juice discolors even when the tank is clean.
3. Monitor Vape Juice Levels
Allowing your vape juice to run too low can cause the coil to dry out and potentially burn, resulting in a poor vaping experience. Regularly check vape juice levels and top-up as necessary.
Cleaning Your Vape Device
A thorough cleaning of your device every few weeks can help prevent issues and maintain performance. Here's a step-by-step guide.
Step 1: Disassemble the Device
Start by taking your device apart. Remove the tank from the battery, take the coil out of the tank, and if possible, disassemble the mouthpiece as well. Be careful to place these components on a clean, dry towel.
Step 2: Cleaning the Tank
Rinse the tank with warm water. If it's very dirty or hasn't been cleaned in a while, a little bit of dish soap can help remove the grime. Rinse thoroughly to ensure all soap is removed. For a deeper clean, you can also use isopropyl alcohol. After cleaning, let the tank air dry completely before reassembling.
Step 3: Cleaning the Coil
Coils can't be cleaned in the same way as the rest of the device because getting them wet can lead to burnout. Instead, you can blow gently through the coil to remove any residue. However, if a coil is too dirty, it's better to replace it.
Step 4: Cleaning the Mouthpiece
The mouthpiece can be cleaned similarly to the tank. Rinse with warm water, use dish soap if necessary, and allow it to air dry.
Step 5: Reassembling the Device
Once all parts are completely dry, you can reassemble the device. Fill the tank with vape juice, give it a few minutes to saturate the new coil (if applicable), and you're good to go.
In conclusion, maintaining and cleaning your vape device can greatly improve your vaping experience and extend the lifespan of your device. Regular upkeep may seem like a bit of a chore, but the benefits in flavor, performance, and longevity make it worth the effort. Remember, the key to a great vape experience is not just about choosing the right device and e-liquid, but also about caring for them properly.

